
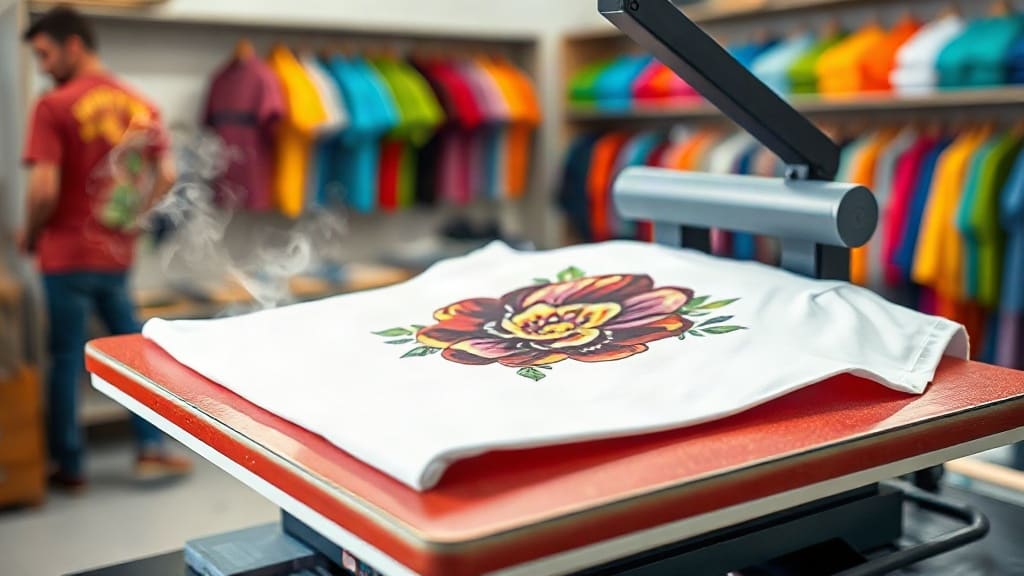
If you've been exploring custom apparel printing, you've likely encountered DTF Transfers. This innovative technology has quickly become a favorite among hobbyists and professionals alike for its versatility and vibrant results. Unlike traditional methods that require specific fabrics or extensive setup, DTF Transfers offer a streamlined approach to decorating t-shirts, hoodies, tote bags, and more. In this guide, we'll walk you through everything you need to know to get started, from the science behind the process to pro tips for flawless application.
What Are DTF Transfers?
DTF stands for Direct-to-Film. It's a printing method where your design is printed onto a special PET film using water-based inks, then coated with a hot-melt adhesive powder. Once the powder is cured, the transfer is ready to be applied to fabric using a heat press. The adhesive melts, bonding the ink to the fabric, and after peeling away the film, you're left with a soft, stretchable print that can withstand repeated washing.
The key difference between DTF and DTG (Direct-to-Garment) is that DTF doesn't print directly onto the garment. Instead, it prints onto a film, which acts as a carrier. This intermediate step allows DTF to work on a wider range of materials, including cotton, polyester, blends, and even treated nylon. It also eliminates the need for pre-treatment, which is often required in DTG printing.
Why Choose DTF Transfers?
There are several compelling reasons why DTF transfers have gained such traction in the printing community. Let's break down the main advantages.
Versatility Across Fabrics
One of the biggest frustrations with other printing methods is fabric compatibility. Vinyl requires certain materials, DTG works best on 100% cotton, and screen printing can be limited on dark garments. DTF transfers, however, adhere beautifully to almost any fabric. Whether you're working with a 50/50 blend, a tri-blend, or even a waterproof jacket, DTF can handle it. This makes it a go-to solution for printers who want to offer a wide range of apparel without investing in multiple techniques.
Vibrant, Durable Prints
DTF prints are known for their bright colors and fine detail. Because the ink is printed onto a film and then transferred, you can achieve photographic-quality images with gradients and subtle tones that other methods might struggle to reproduce. The prints also stretch with the fabric without cracking, thanks to the elastic nature of the adhesive. With proper care, a DTF print can last as long as the garment itself.
Cost-Effective for Small Businesses
For small businesses or side hustlers, DTF offers a low barrier to entry. You don't need expensive screens, platens, or specialized inks. A decent DTF printer and a heat press are the main investments. Plus, you can print on demand, reducing waste and inventory costs. Many entrepreneurs start with a single printer and scale up as their orders grow.
How to Apply DTF Transfers: Step-by-Step
Applying a DTF transfer might seem intimidating at first, but with a bit of practice, you'll be cranking out professional-looking shirts in no time. Here's a detailed walkthrough.
Step 1: Prepare Your Workspace
Set up your heat press on a sturdy table. Ensure it's on a flat, heat-resistant surface. Preheat your press to the recommended temperature, usually between 300°F and 325°F (150°C to 160°C). While it's heating, organize your transfers and garments. Make sure the fabric is clean, dry, and free of wrinkles. Any moisture can interfere with adhesion, so a quick pre-press for 5-10 seconds can help remove wrinkles and moisture.
Step 2: Position the Transfer
Place the garment on the lower platen of the press. If you're using a shirt, slide it over the platen so the area where the design will go is flat and smooth. Position the DTF transfer with the printed side facing up (the adhesive side is against the fabric). Use heat-resistant tape to secure it if needed, especially for intricate designs.
Step 3: Press and Peel
Close the press and apply medium to firm pressure. The exact time depends on your transfer and fabric, but a good starting point is 10-15 seconds. After pressing, open the press and let the garment cool for a few seconds. Then, peel the film away in a smooth, consistent motion. If you peel while it's hot, you might get a glossy finish; if you wait until it's cold, you'll get a matte finish. Most DTF transfers are designed for cold peel, but always check the instructions from your supplier.
Step 4: Post-Press for Durability
For maximum washability, cover the printed area with a Teflon sheet or parchment paper and press again for 5-10 seconds. This second press ensures the adhesive fully cures and bonds with the fibers. It's a small extra step that can significantly extend the life of your print.
Common Mistakes to Avoid
Even seasoned printers can run into issues with DTF. Here are some pitfalls to watch out for.
- Insufficient pressure: If the pressure is too light, the adhesive won't penetrate the fabric, leading to peeling. Adjust your press until you feel firm resistance.
- Wrong temperature: Too hot and the film may shrivel or the ink may burn; too cold and the adhesive won't melt. Always test with a temperature gun or follow the transfer's guidelines.
- Peeling too early or too late: Peeling while hot can stretch the design, while peeling after it's completely cold might cause cracking. Aim for a warm peel unless specified otherwise.
- Ignoring fabric type: While DTF works on many fabrics, some like nylon require lower temperatures. Always do a test press on a scrap piece.
DTF vs. Other Printing Methods
How does DTF stack up against vinyl, screen printing, and DTG? Let's compare.
- Vinyl: Great for simple designs and numbers, but limited in color and detail. DTF excels with complex, multi-color images.
- Screen Printing: Cost-effective for large orders, but setup is time-consuming and costly for small runs. DTF is ideal for one-offs and small batches.
- DTG: Best for 100% cotton and light garments; requires pre-treatment. DTF works on more fabrics and often has a softer hand feel.
Ultimately, the choice depends on your specific needs. But for versatility and ease, DTF is hard to beat.
Frequently Asked Questions
How long do DTF transfers last?
With proper application and care, DTF transfers can last 50+ washes without fading or cracking. Always wash inside out in cold water and avoid harsh detergents.
Can I use DTF transfers on dark shirts?
Absolutely. DTF transfers include a white ink layer that makes colors pop on dark fabrics. You don't need a separate white underbase like with DTG.
Do I need a special printer for DTF?
Yes, DTF requires a printer that uses DTF inks and a shaker machine for the powder. However, you can also buy pre-made transfers from suppliers if you're not ready to invest in a printer.
What's the best temperature for pressing DTF transfers?
Most DTF transfers press at 300-325°F (150-160°C) for 10-15 seconds with medium-firm pressure. Always check the instructions provided by your transfer supplier.
Can I stretch DTF prints?
Yes, DTF prints are elastic and will stretch with the fabric. However, excessive stretching may cause minor cracking over time, so it's best to avoid overstretching.
DTF transfers have revolutionized the custom apparel industry by offering unparalleled versatility and quality. Whether you're a hobbyist or a business owner, mastering DTF can open up a world of creative possibilities. With the right tools and a bit of practice, you'll be producing stunning, durable prints that your customers will love.