
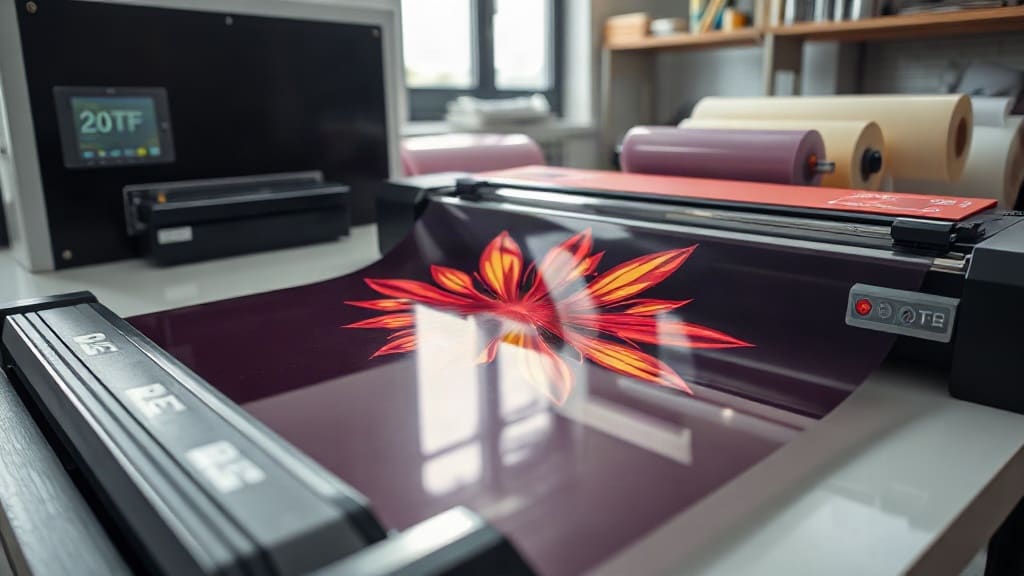
When I first heard about DTF printing, I was skeptical. Could a process that uses a special film and powder really produce transfers as soft and durable as screen printing? After months of trial and error, I can confidently say yes, but only if you pay attention to the details. In this guide, I'll share what I've learned so you can skip the frustration and get straight to producing vibrant, long-lasting designs.
What Exactly Is DTF Printing?
DTF stands for Direct to Film. It's a printing method where your design is printed onto a special film, coated with a hot-melt adhesive powder, and then cured. The resulting transfer can be applied to a wide range of fabrics, including cotton, polyester, and blends, using a heat press. Unlike DTG, which requires pre-treatment and works best on 100% cotton, DTF adheres to almost any fabric, making it a versatile choice for custom apparel.
How Does the Process Work?
The workflow is straightforward: design, print, powder, cure, press. But each step has nuances that affect the final outcome. Let's break it down.
Step 1: Designing for DTF
Not all designs are created equal when it comes to DTF. Because the ink sits on top of the film and is transferred as a whole, you need to consider how colors will appear on different fabric colors. For example, printing white text on a black shirt requires a white underbase, which DTF handles automatically by printing white ink first. However, if your design has fine details, you'll want to ensure your printer can handle them without clogging.
I recommend starting with bold, simple graphics. Once you're comfortable, you can experiment with gradients and photographs. Always print a test to check for banding or missing nozzles.
Step 2: Choosing the Right Film
There are two main types of DTF film: hot peel and cold peel. Hot peel films allow you to remove the transfer immediately after pressing while it's still hot. Cold peel films require you to wait until the transfer cools completely. Each has its advantages. Hot peel is faster for production, but cold peel often yields a smoother finish, especially with intricate designs.
Film thickness also matters. Thinner films (75-100 microns) feel softer on the garment but can be trickier to handle. Thicker films (100-125 microns) are more forgiving and easier to work with, especially for beginners. I started with 100-micron film and still use it for most jobs.
Step 3: Printing and Powdering
Your printer settings will depend on the brand of ink and film you use. Generally, you'll want a high-quality pigment ink designed for DTF. The printer lays down a layer of white ink, followed by CMYK. After printing, you immediately apply the adhesive powder. The key is to apply an even coat. Too little powder and the transfer won't adhere properly; too much and it will feel rubbery and may not cure correctly.
I use a powder shaker to distribute the powder evenly, then shake off the excess. A gentle tap on the back of the film helps remove any clumps.
Step 4: Curing the Transfer
Curing is where many beginners run into trouble. The powder needs to melt and form a smooth, clear layer. You can use a heat press or a dedicated curing oven. If using a heat press, set it to 320-350°F (160-175°C) and press for 30-60 seconds with low pressure. The powder should turn from white to clear. If it's still white, it's not fully cured.
Overcuring can make the transfer brittle, so keep an eye on it. I always do a small test batch to dial in the settings.
Step 5: Applying the Transfer
When you're ready to apply the transfer to a garment, preheat your heat press to 320-350°F (160-175°C). Place the transfer on the fabric and press for 15-20 seconds with medium pressure. For hot peel, remove the film immediately; for cold peel, wait until it cools. Then, cover with a parchment paper or Teflon sheet and press again for 5-10 seconds to smooth out any texture.
This final press also ensures the transfer bonds well to the fabric. I've found that a second press significantly improves durability.
Common Challenges and How to Overcome Them
1. Powder Not Sticking
If the powder doesn't stick to the ink, it could be due to insufficient ink coverage or high humidity. Make sure your printer is laying down enough ink, and store your powder in a dry place.
2. Transfer Peeling After Wash
This usually happens when the transfer wasn't pressed long enough or at the right temperature. Increase your press time or temperature slightly. Also, ensure you're using the correct pressure.
3. Colors Look Dull
Dull colors can result from overcuring or using low-quality ink. Check your curing temperature and consider switching to a reputable ink brand.
Tips for Success
- Practice on scrap fabric first. It saves you from ruining good garments.
- Keep a log. Record settings for each job so you can replicate success.
- Invest in a good heat press. Consistent temperature and pressure are crucial.
- Store film and powder properly. Moisture is the enemy.
Frequently Asked Questions
Can I use DTF on dark colors?
Absolutely. DTF prints a white underbase, so colors pop on dark fabrics. Just ensure your white ink is well-maintained.
How durable is a DTF transfer?
When applied correctly, a DTF transfer can withstand 50+ washes without fading or cracking. Proper curing and pressing are key.
Do I need a special printer for DTF?
You can convert an existing inkjet printer with DTF ink and film, but dedicated DTF printers offer better reliability and consistency.
What fabrics work best with DTF?
DTF works on cotton, polyester, blends, and even some nylons. It's not recommended for fabrics with a heavy texture or waterproof coatings.
How do I store unused transfers?
Keep them in a cool, dry place, away from direct sunlight. Place them between sheets of parchment paper to prevent sticking.
Mastering DTF printing takes practice, but the results are worth it. With these insights, you're well on your way to creating professional-quality transfers that impress your customers and stand the test of time.