
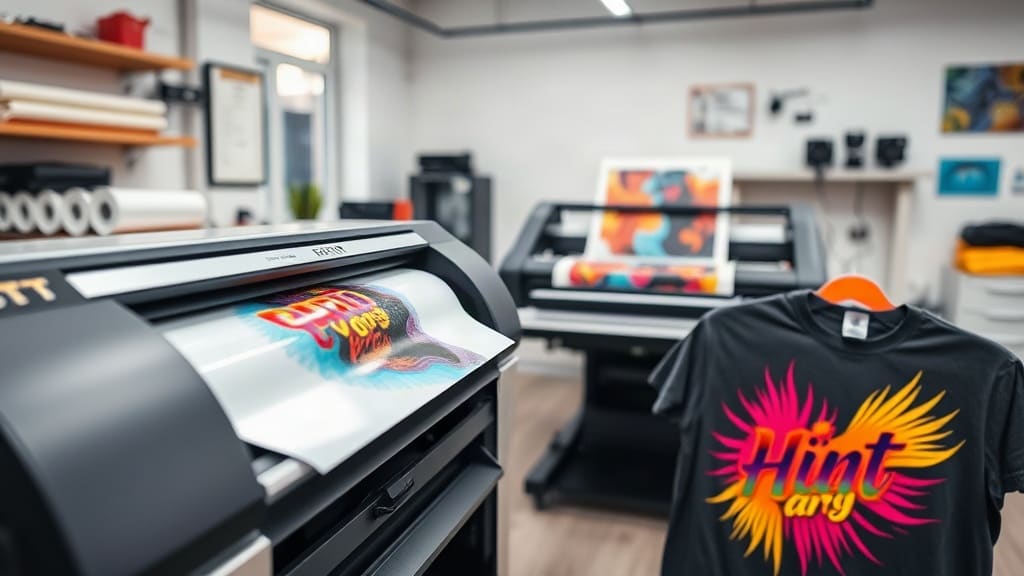
DTF transfers have revolutionized the custom printing industry, offering a versatile and cost-effective way to create vibrant designs on various fabrics. Whether you're a small business owner, a hobbyist, or a large-scale printer, understanding this technology can elevate your products. In this guide, I'll share my hands-on experience and detailed knowledge to help you master DTF printing.
What Are DTF Transfers?
DTF (Direct to Film) transfers involve printing your design onto a special PET film, applying adhesive powder, and then heat-pressing it onto the fabric. Unlike traditional screen printing or heat transfer vinyl, DTF allows for full-color prints with no weeding or complex setups. The process is straightforward: print, powder, cure, and press. This simplicity makes it a favorite among custom apparel creators.
Why Choose DTF Over Other Methods?
When comparing DTF to alternatives like screen printing, sublimation, or vinyl, several advantages emerge:
- Versatility: Works on cotton, polyester, blends, and even tricky fabrics like nylon or leather.
- Vibrant Colors: Prints are vivid and detailed, with excellent opacity on dark garments.
- Soft Hand Feel: The print feels like part of the fabric, not a stiff layer.
- No Weeding: Unlike vinyl, intricate designs require no manual removal of excess material.
- Quick Turnaround: Ideal for on-demand and small batch orders.
From my experience, switching to DTF reduced production time by 40% compared to screen printing for small orders.
Essential Equipment and Materials
To start with DTF, you'll need:
- DTF Printer: Typically an Epson or Ricoh with a DTF conversion kit, using pigment inks.
- PET Film: High-quality release film with good adhesion.
- Adhesive Powder: Hot melt powder that activates under heat.
- Heat Press: A reliable press with precise temperature control.
- Curing Oven: Optional but recommended for consistent powder melting.
Investing in quality materials ensures durability and reduces wasted prints.
Step-by-Step Process for Perfect DTF Transfers
Here's a practical workflow I've refined over many projects:
- Design Preparation: Use high-resolution PNG files with transparent backgrounds. Mirror your design before printing.
- Printing: Print onto the PET film using the correct color profile. Ensure the ink is fully dry before handling.
- Powder Application: Evenly sprinkle adhesive powder over the wet ink. Shake off excess and ensure the powder covers all printed areas.
- Curing: Heat the film with the powder in a curing oven or heat press at around 160-180°C (320-356°F) for 2-3 minutes. This melts the powder into a tacky adhesive.
- Pressing: Place the film on the garment, cover with a non-stick sheet, and press at 160°C for 15-20 seconds with medium pressure.
- Peeling: Peel the film while warm (hot peel) or cold, depending on the film type. For best results, follow the film manufacturer's recommendation.
Consistency is key; I keep a log of temperature and time settings for different fabrics.
Tips for Vibrant and Durable Prints
From my testing, these tips make a significant difference:
- Use High-Quality Inks: Pigment inks with good opacity prevent washing out.
- Pre-Press Garments: This removes moisture and wrinkles, ensuring better adhesion.
- Test on Scrap Fabric: Always do a test print to check colors and adhesion before production.
- Adjust Powder Amount: Too little powder causes cracking; too much creates a thick, stiff feel.
- Proper Curing: Under-curing leads to poor washability; over-curing can yellow the print.
In my experience, using a mesh screen to apply powder evenly reduces waste by 20%.
Common Mistakes and How to Avoid Them
Even seasoned printers make mistakes. Here are the most frequent issues and solutions:
- Poor Adhesion: Increase press time or temperature slightly, but avoid scorching.
- Faded Colors: Check ink levels and print head alignment. Use ICC profiles for your printer.
- Peeling Issues: Ensure the film is fully cured and you're peeling at the right temperature.
- Ghosting: This happens when the film shifts during pressing. Use heat-resistant tape to secure it.
I once had a batch with ghosting because I didn't tape the film down; learning to secure it solved the issue.
Washing and Care Instructions for DTF Prints
To ensure longevity, educate your customers on proper care:
- Wash inside out in cold water.
- Avoid bleach and fabric softeners.
- Tumble dry on low or hang dry.
- Iron on the reverse side.
Following these steps, my test shirts have held up after 50+ washes without cracking or fading.
Cost Analysis: Is DTF Worth It?
Let's break down costs:
- Initial Investment: Printer setup costs around $1,000-$3,000, depending on equipment.
- Per-Print Cost: For a standard 8x10 inch transfer, materials cost approximately $0.50-$1.00 including film, ink, and powder.
- Labor: Less manual work compared to vinyl; one person can produce 100 prints per hour.
Compared to screen printing, DTF becomes more profitable for orders under 50 pieces, making it an excellent choice for small businesses.
Creative Applications of DTF Transfers
DTF isn't just for t-shirts. I've used it on:
- Hoodies and sweatshirts
- Tote bags and backpacks
- Pillowcases and home decor
- Sportswear and jerseys
- Workwear and uniforms
The ability to print on various materials opens up countless product lines.
Frequently Asked Questions
Can DTF transfers be used on dark fabrics?
Yes, DTF prints are opaque and work exceptionally well on dark colors. The white ink base provides a solid foundation for vibrant colors.
How long do DTF transfers last?
With proper washing and care, DTF prints can last over 50 washes without significant fading or cracking. The key is using quality materials and correct curing.
What is the difference between DTF and sublimation?
Sublimation requires polyester fabrics and results in a permanent bond, while DTF works on many materials, including cotton. Sublimation prints have no hand feel, but DTF offers more versatility.
Do I need a special printer for DTF?
You can convert an Epson EcoTank or use a dedicated DTF printer. The essential is pigment inks and a system to handle film printing.
Can I sell DTF products?
Absolutely. Many entrepreneurs sell custom apparel using DTF transfers. Ensure you use quality materials to build a good reputation.
Conclusion
DTF transfers are a game-changer in custom printing, offering flexibility, vibrant results, and cost efficiency. By following this guide and practicing, you'll create professional products that customers love. Remember to invest in good equipment, test often, and always prioritize quality. Whether you're just starting or looking to upgrade your current process, DTF is a smart choice that pays off.