
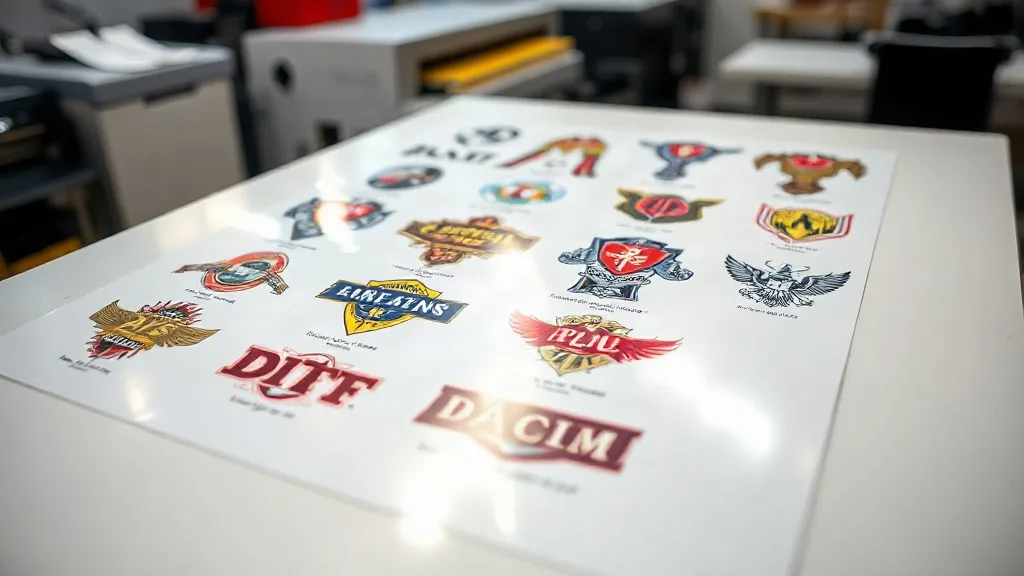
If you have ever pulled a DTF transfer off a shirt only to find a patchy spot or a cracked edge, you know how frustrating it can be. The difference between a flawless press and a failed one often comes down to how you build your DTF Gangsheet. A gangsheet is more than just a collection of images on a film; it is the foundation of your entire production run. Getting it right means fewer reprints, happier customers, and a smoother workflow. In this guide, we will walk through the key steps to create a gangsheet that presses perfectly every time, from file setup to final peel.
Why Gangsheet Layout Matters More Than You Think
When you arrange multiple designs on a single sheet, you are not just saving film; you are also setting the stage for how each transfer will behave during pressing. Poor spacing can cause designs to bleed into each other, while inconsistent margins can make cutting and weeding a nightmare. A well-planned gangsheet ensures that every transfer has enough border to be handled easily and that the film can be cut without accidentally slicing into a design.
Experienced operators know that leaving at least a quarter-inch gap between designs is not just a suggestion; it is a rule. This gap prevents ink from different designs from merging during printing and gives you a safe zone for cutting. It also makes it easier to peel the transfer off the film without tearing the edges. If you are running a high-volume shop, investing time in a smart layout can significantly reduce waste and rework.
Step-by-Step: Building a Print-Ready Gangsheet
Creating a gangsheet that prints and presses cleanly involves a few critical steps. Follow this sequence to avoid common pitfalls.
1. Start with High-Resolution Artwork
Your design files should be at least 300 DPI at the final print size. Low-resolution images may look fine on screen but will produce pixelated or blurry transfers. Always check the resolution before adding a design to your gangsheet. If you are working with vector files, rasterize them at the correct size to maintain crisp edges.
2. Set Up the Correct Canvas Size
Your DTF printer and film rolls dictate the maximum width you can use. Common widths are 13, 17, and 22 inches. Choose a canvas size that matches your film roll and leave a small margin on each side. This prevents ink from spilling over the edge and jamming the printer.
3. Arrange Designs with Adequate Spacing
As mentioned, keep at least 0.25 inches between designs. Also, group similar colors together if possible; this can reduce ink consumption and improve color consistency across the sheet. For large orders, consider nesting smaller designs around larger ones to maximize film usage without compromising the gap.
4. Add Registration Marks if Needed
If you are using a cutting plotter, include registration marks so the cutter can align accurately. These marks should be placed outside the design area and clearly visible. Without them, your cuts may be off, leading to wasted transfers.
5. Proof the Sheet Before Printing
Always do a quick visual check of the gangsheet on your monitor. Look for overlapping elements, missing gaps, or any design that extends beyond the safe print area. A few seconds of proofing can save you minutes of reprinting and wasted film.
Choosing the Right Film and Powder for Consistent Results
The materials you use play a huge role in the final quality of your transfers. Not all DTF films are created equal. A quality film should have a consistent coating that releases the ink evenly and withstands the heat of the press without curling. Similarly, the adhesive powder must be applied evenly to ensure a strong bond to the fabric.
When applying powder, shake off the excess thoroughly. A common mistake is leaving too much powder on the film, which can create a rough texture on the final print and cause the transfer to feel stiff. Use a powder shaker with a fine mesh and gently tap the back of the film to remove any loose particles. Curing the powder properly is also crucial; undercured powder will not adhere correctly, leading to premature peeling.
Pressing Parameters That Make or Break the Transfer
Even a perfectly built gangsheet can fail if the press settings are off. Temperature, pressure, and time must be dialed in for your specific film and fabric combination. As a starting point, most DTF transfers require a temperature of 300-325°F (150-160°C) with medium pressure for 10-15 seconds. However, always follow the recommendations from your film supplier.
Pre-pressing the garment is essential to remove moisture and wrinkles. Moisture can cause the transfer to bubble or not adhere properly. After pressing, allow the garment to cool completely before peeling the film. Peeling while hot can stretch the design or cause it to lift at the edges. For a matte finish, you can do a second press with a Teflon sheet for a few seconds after peeling.
Troubleshooting Common Gangsheet Issues
Despite your best efforts, problems can arise. Here are some common issues and how to fix them.
- Designs bleeding into each other: Increase the gap between designs and ensure the film is flat during printing.
- Transfer not adhering: Check press pressure and temperature; also ensure the garment is properly pre-pressed and free of fabric softeners.
- Film curling during printing: Store film in a dry environment and use a film holder to keep it taut.
- Powder not melting evenly: Adjust curing temperature and time; ensure powder is applied in a thin, even layer.
Keeping a log of your settings and issues can help you identify patterns and refine your process over time.
Maximizing Efficiency with Smart Gangsheet Practices
Once you have mastered the basics, you can start optimizing for speed and cost. Group orders by similar colors or fabrics to streamline pressing. Use nesting software to automatically arrange designs and minimize waste. Consider building gangsheets for your most popular designs in advance so you can quickly fulfill repeat orders. These small efficiencies add up, allowing you to take on more jobs without increasing overhead.
Frequently Asked Questions
How do I prevent my DTF gangsheet from curling during printing?
Curling often happens when the film absorbs moisture or when the printer's feed mechanism is not holding it flat. Store film in a sealed bag with desiccant, and use a film guide or holder to keep it taut. Also, ensure your printer's platen is clean and the film is loaded correctly.
Can I reuse a DTF gangsheet after pressing?
No, DTF transfers are single-use. Once the transfer is pressed onto the fabric, the film cannot be reused. However, you can design your gangsheet to include multiple copies of the same design for multiple garments.
What is the ideal gap between designs on a gangsheet?
A minimum gap of 0.25 inches (6.35 mm) is recommended to allow for easy cutting and to prevent ink from adjacent designs from merging. For designs with heavy ink coverage, increase the gap to 0.5 inches.
How do I ensure consistent color across a large gangsheet?
Consistent color starts with a well-maintained printer and proper color management. Use ICC profiles for your specific ink and film combination, and print a test sheet to check for any inconsistencies. Grouping similar colors together on the gangsheet can also help maintain uniformity.
Can I use a DTF gangsheet on dark fabrics?
Yes, DTF transfers work on both light and dark fabrics. The white ink layer in the transfer provides opacity, so colors remain vibrant on dark backgrounds. Just ensure your white ink layer is properly cured and applied evenly.